Github Action博客自动部署搭建
本文最后更新于:几秒前
Github Action博客自动部署搭建
本文参考自使用 GitHub Action 自动部署 Hexo 博客 | 水木风的个人博客 (dslwind.github.io)、GitHub Action + Hexo实现在线写作_磊少1999的博客-CSDN博客_hexo在线编辑,部分有所改动。
Github Action
Github Actions 可以很方便实现 CI/CD 工作流,来帮我们完成一些工作,比如实现自动化测试、打包、部署等操作。Github Action是Github提供的一站式服务,通过设置workflow工作队列,将需要进行的工作部署到Github上自动实现。在hexo博客搭建时,创建博客、hexo clean && hexo g && hexo d三步骤等都十分的繁琐,有时候为了简单博文内容,但手头的设备上没有 hexo 的环境,这时候就可以借助 GitHub Actions 来实现云端部署。因此这里将这些步骤分包到Github Action自动完成;同时,之后若有进一步的动作,如gitee文件同步、更新等操作,就可以同样用Github Action来完成了。
以下是自动部署的步骤:
创建仓库或分支
完成Github Action首先需要规定一个动作,在这里可以指对源码仓库或源码分支的更新,因此需要创建一个新的仓库或者源码来存储现有的源码。即
- 创建SourceCode仓库存储Hexo的源码文件和markdown文本文件;
- 继续使用原有的xxx.github.io作为站点仓库。
生成远程密钥
首先在博客blog目录下设置一个新的ssh-key用于部署。
1 | |
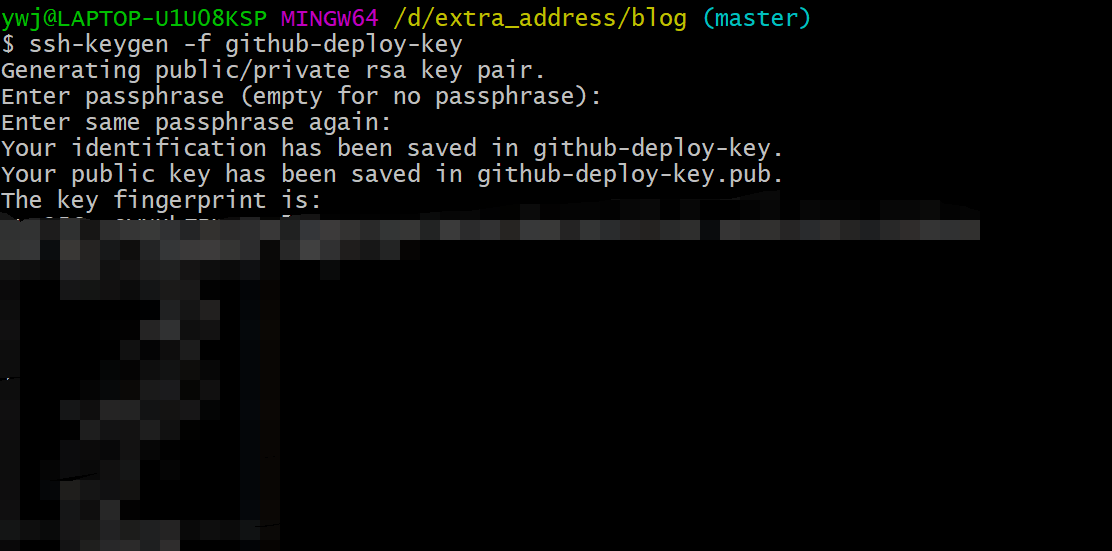
当前目录将生成 github-deploy-key 和 github-deploy-key.pub 两个文件。
Github在线部署
下面的步骤请注意设置的仓库分别是哪个
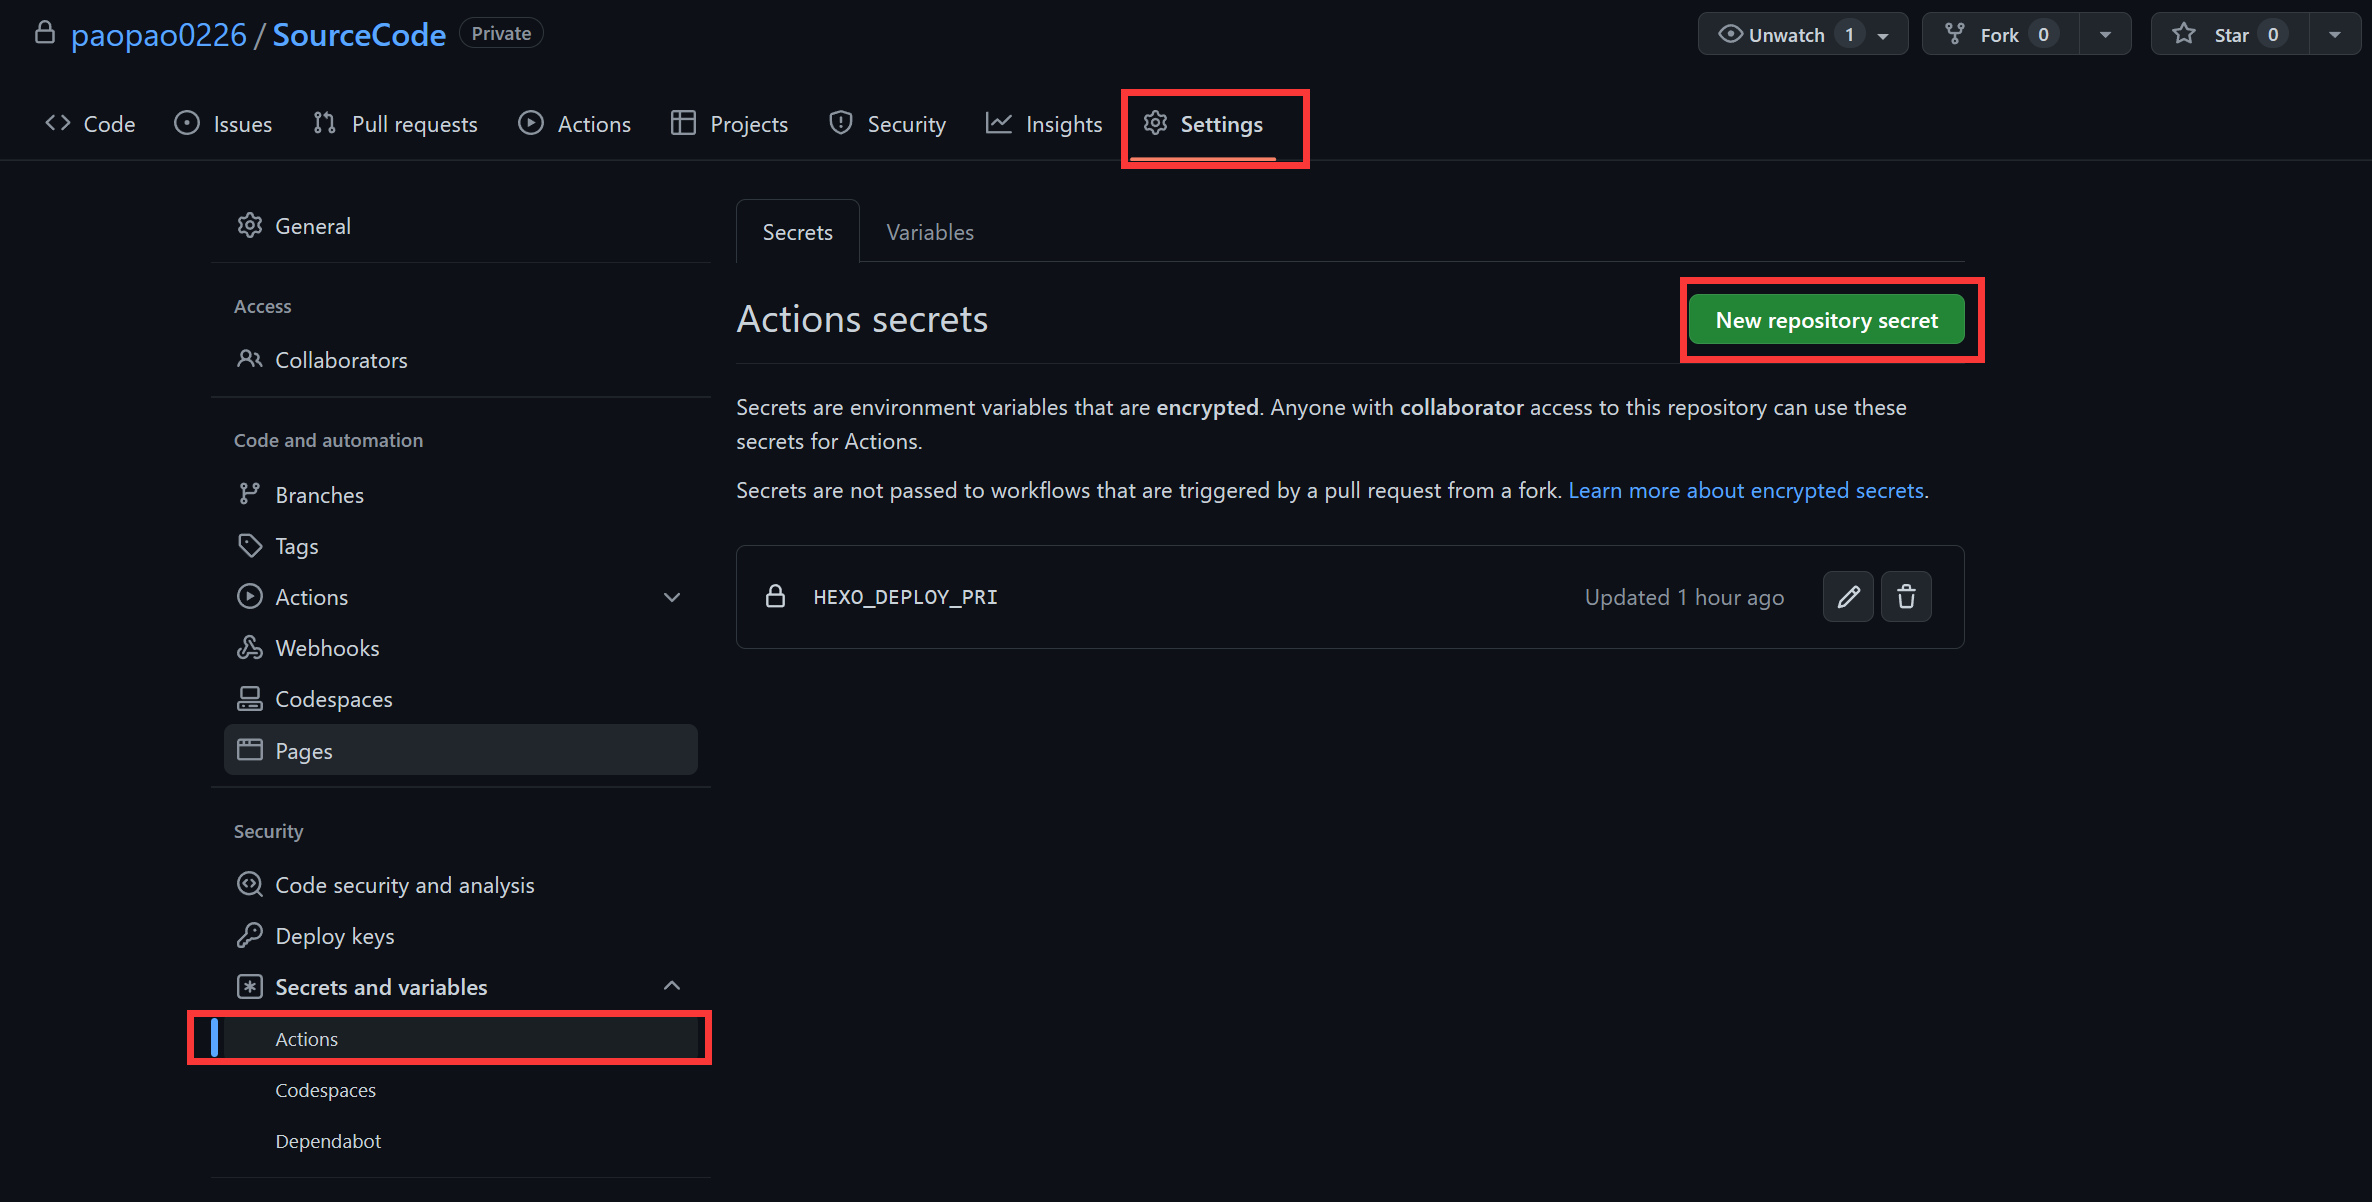
1、复制github-deploy-key文件中的内容,在源码仓库(SourceCode)中Settings->Secrets and variables->Actions->New repository secret设置私钥:
- 在Name输入框中填写
HEXO_DEPLOY_PRI - 在
Value输入框填写github-deploy-key文件内容。
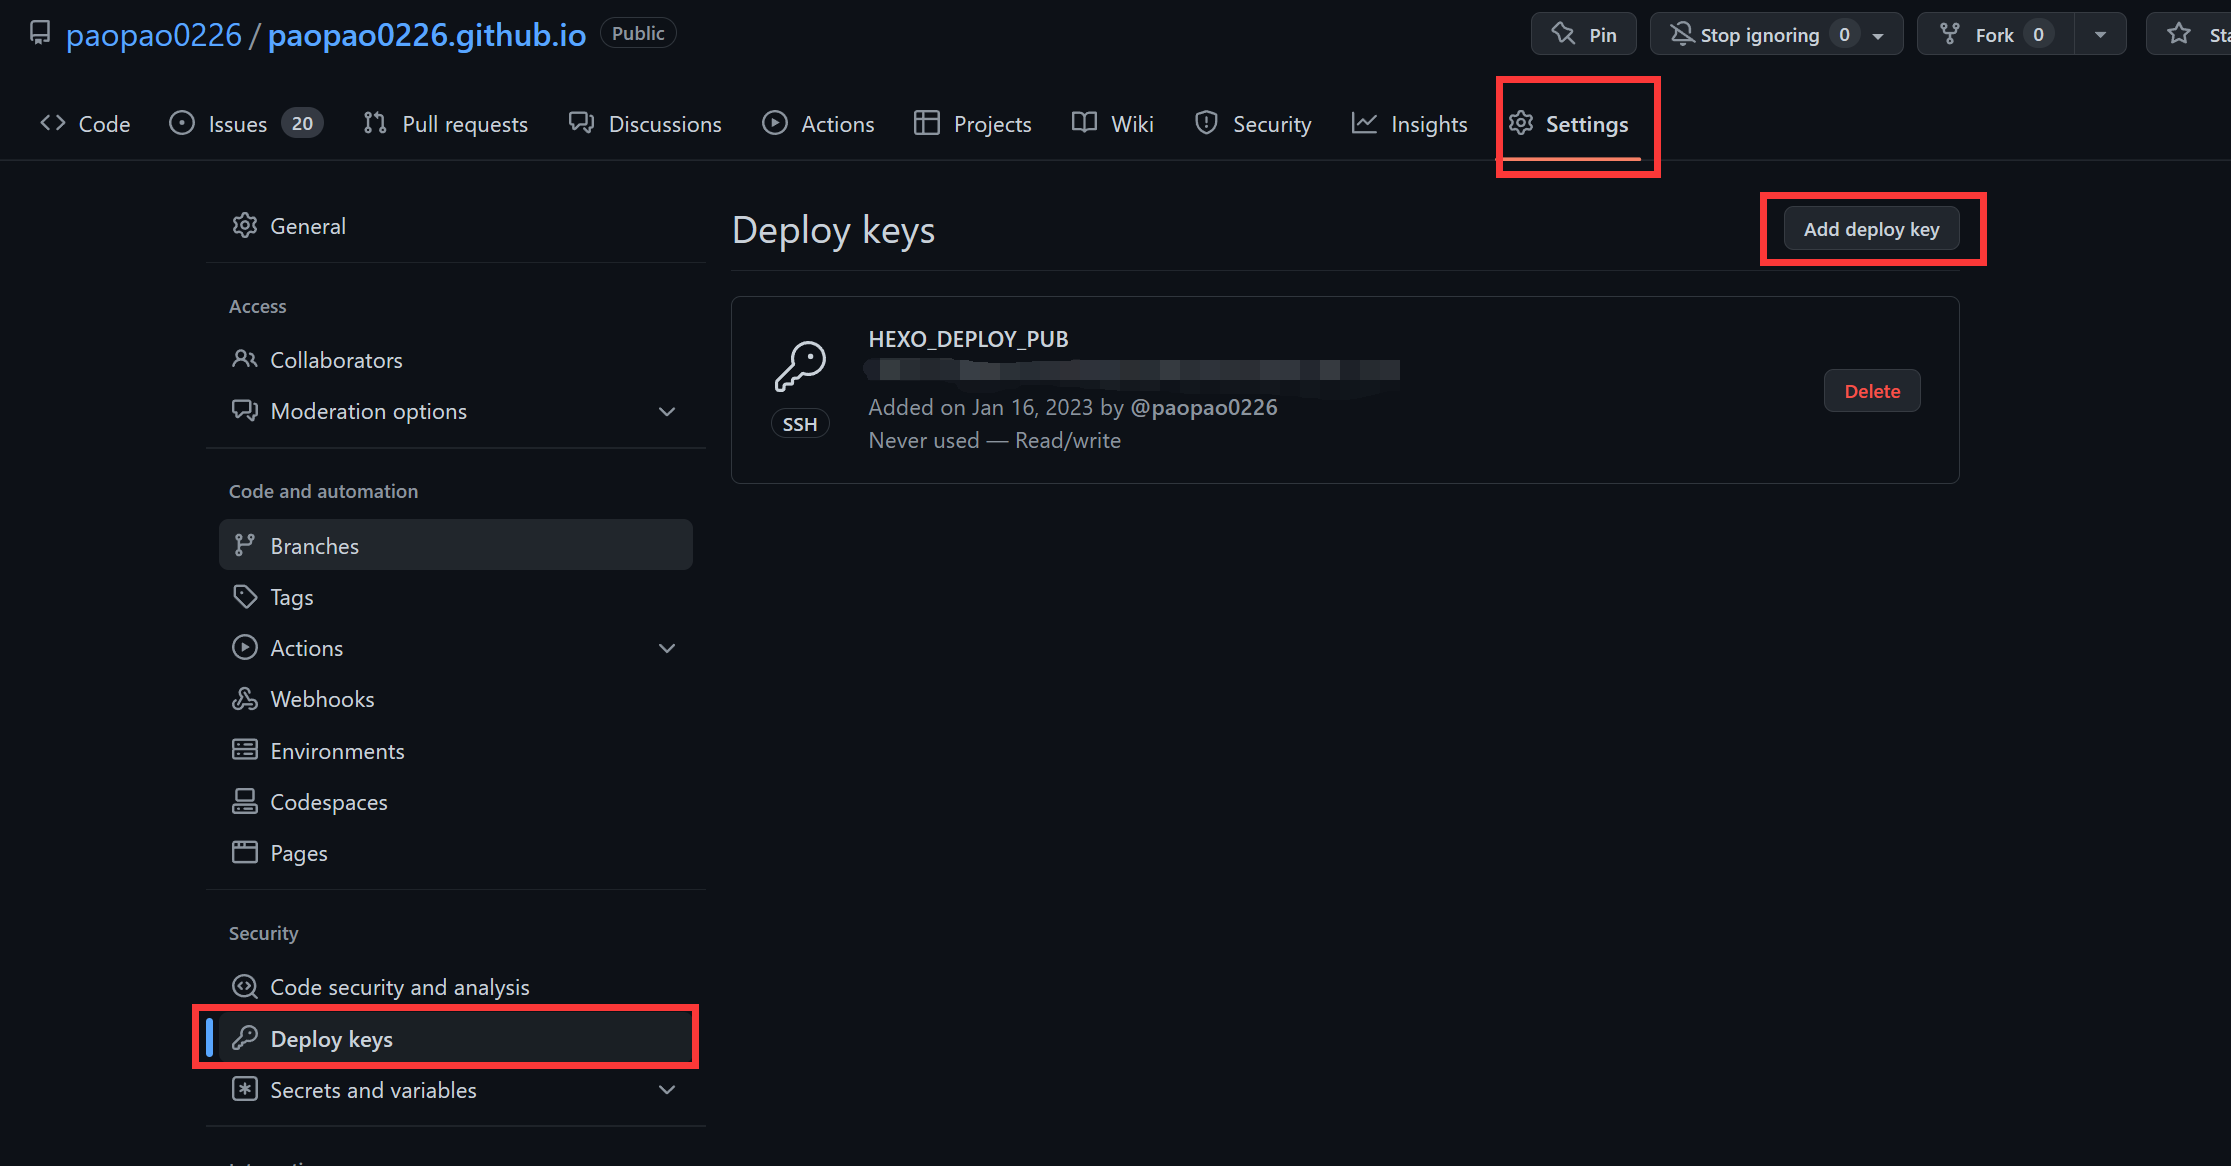
2、复制 github-deploy-key.pub 文件内容,在 站点仓库username.github.io 仓库 Settings -> Deploy keys -> Add deploy key 页面上添加。
- 在
Title输入框填写HEXO_DEPLOY_PUB。 - 在
Key输入框填写github-deploy-key.pub文件内容。 - 勾选
Allow write access选项。
这样就完成了Github Action的密钥设置。
编写Action脚本
Action脚本采用的是Workflow工作流,其目标在于记录工作的步骤和目的,这里参考了GitHub Action + Hexo实现在线写作_磊少1999的博客-CSDN博客_hexo在线编辑的Action代码,这里我只有自动部署的需求,更多需求可以自行查找Action代码并替换。
在源码目录的根目录中创建.github/workflows/deploy.yml 文件,并将下面的代码粘进去。
1 | |
开启Action
开启Action的条件是监听到master的push需求,因此我们需要将源码push到源码仓库的master分支中(自定义)。
1 | |
这里可能会遇到如下问题:
- master无法推送:更改当前分支为master分支
! [rejected] master -> master (fetch first):先pull后push,如果和仓库中的冲突过多可以git push -f origin master暴力覆盖(不推荐)- git push Everything up-to-date:参考博文:
若有其他问题请补充。
推送到仓库之后,Github会自动监听master的推送,并开启Action操作。
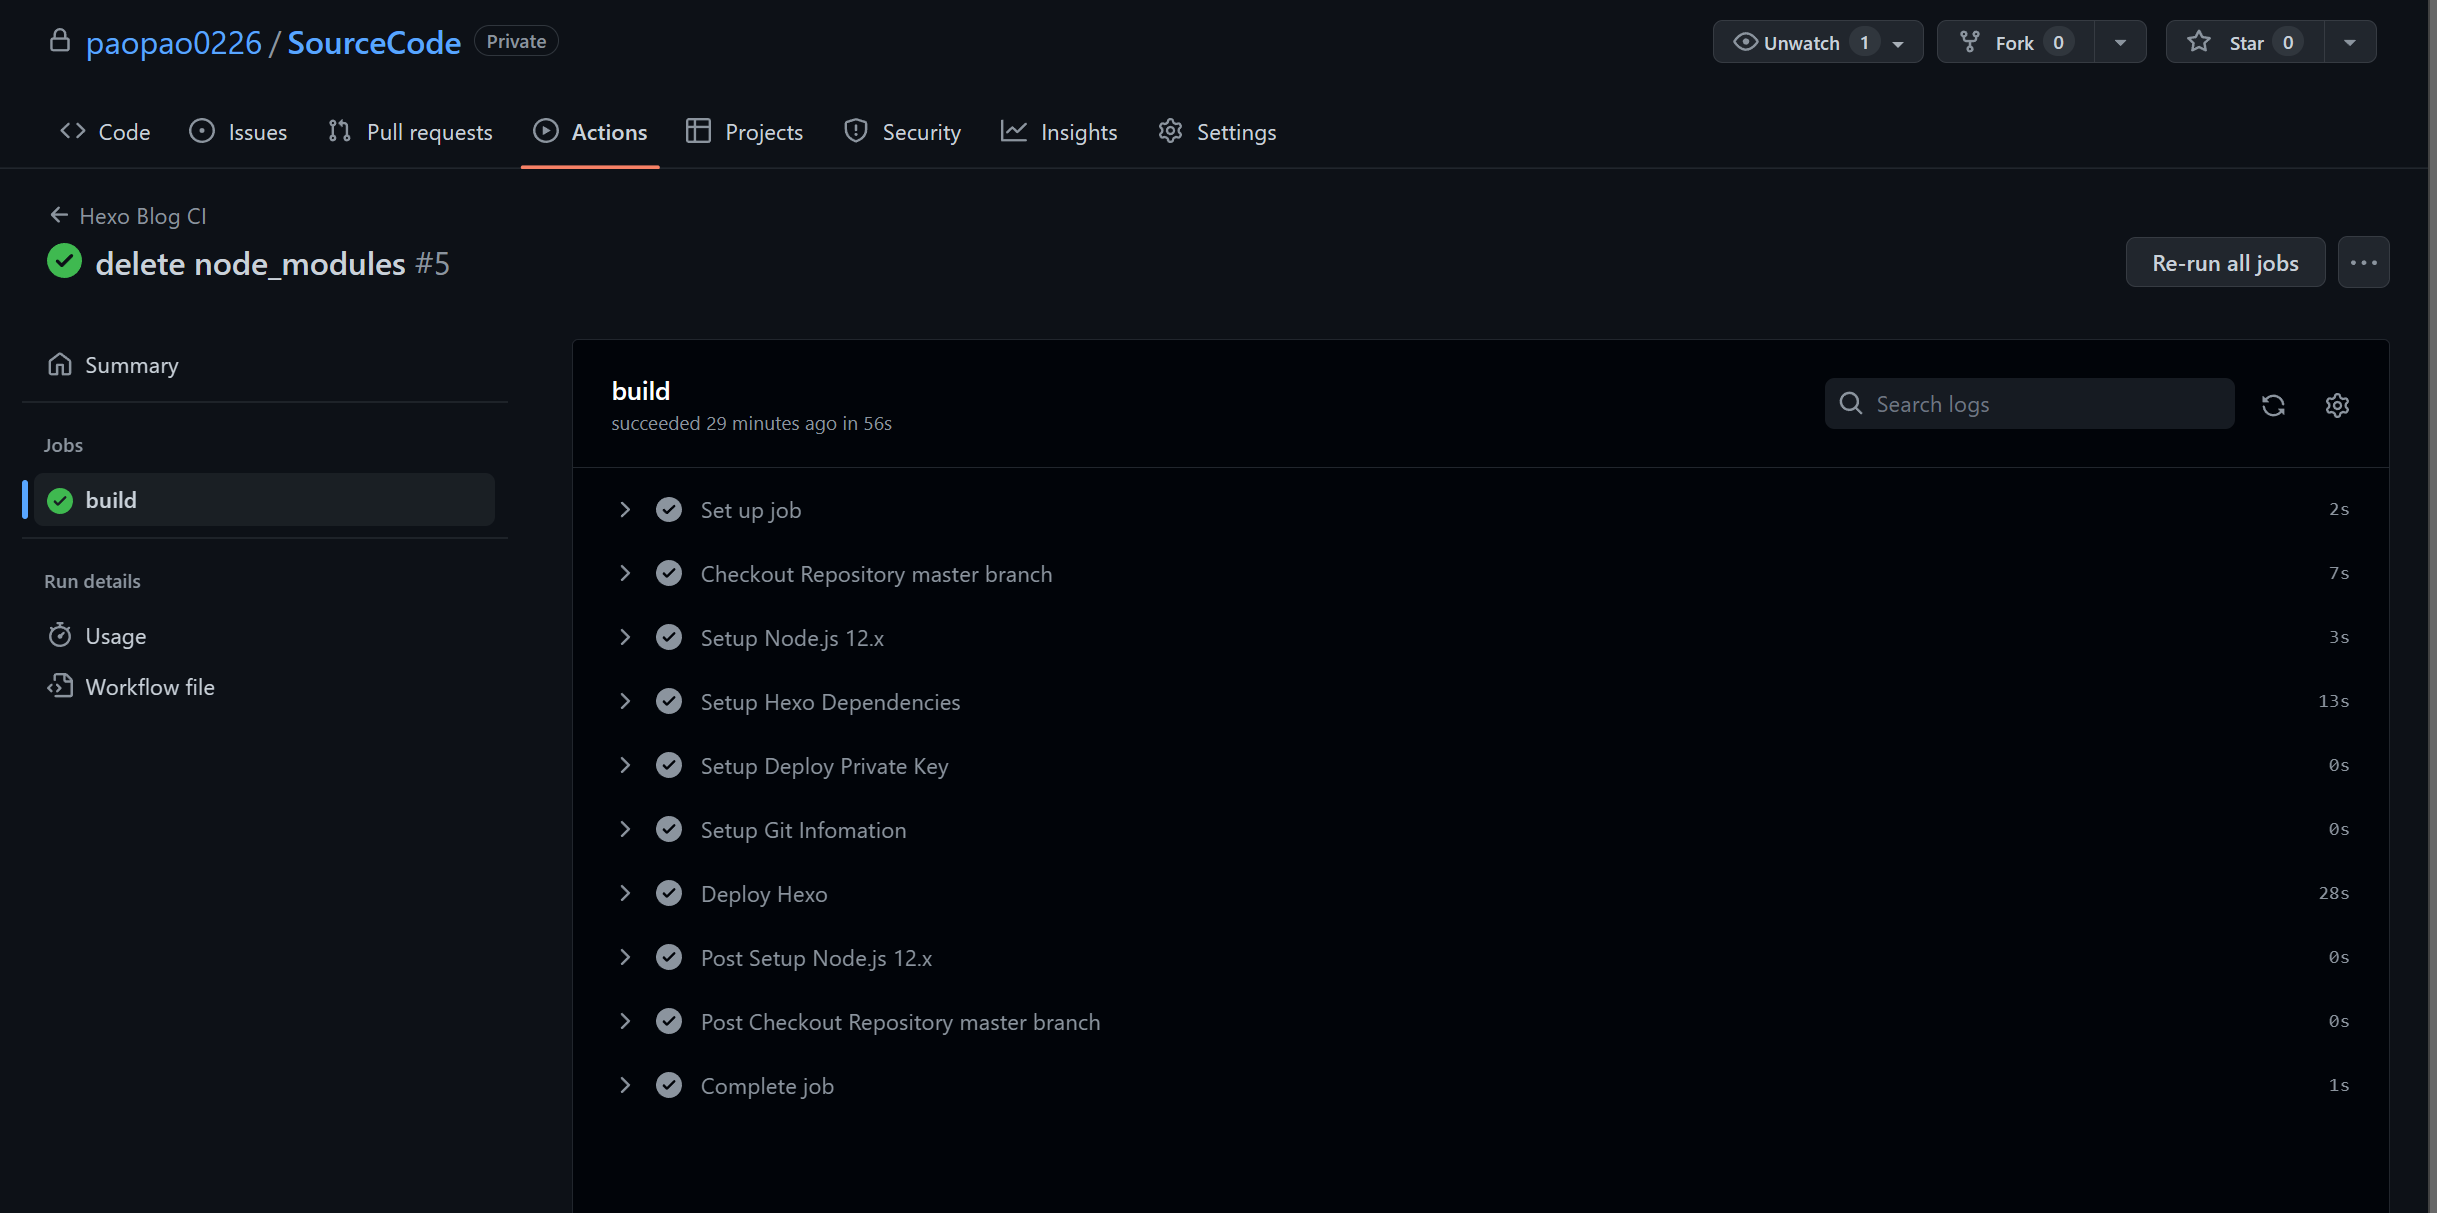
这里可能会出现Action的Deploy Hexo出错,这里可能是因为站点仓库受保护的原因,其他原因可以自行点开日志阅读理解。
完成自动部署之后,我们就会看到自己的站点成功更新。